
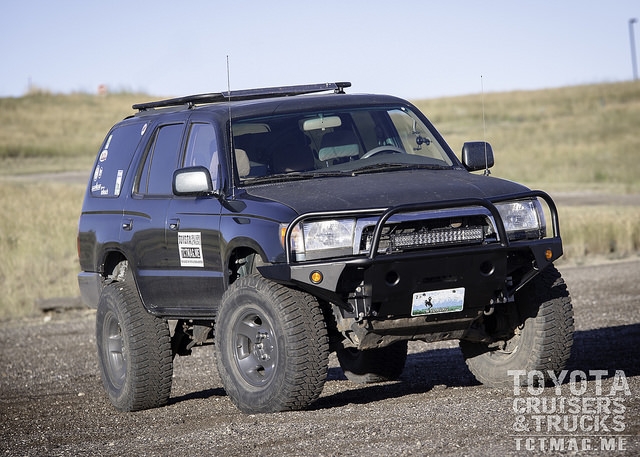
INSTALL: CBI Front Hybrid Bumper – 96 to 98 4Runner

 Difficulty: 3 out of 5
This project requires cutting and welding of the frame. This project should only be tackled by someone with previous welding experience. Those tackling this project should wear proper personal protective equipment to help prevent injury. Do not attempt this project without a helper, or two, to prevent straining one’s back by trying to hold a bumper in place while bolting it up.
Tools Required:
- Ratchet and Socket Set (Metric & SAE)
- Combination Wrench Set (Metric & SAE)
- Torque Wrench
- Soldering Iron
- Grinder with Cutoff Wheel
- Welder
Step 1: Factory Bumper Removal
Locate and unplug the wiring harnesses from the turn signals.
Locate and unbolt the two Fender Apron Braces, there is one brace on each side. A single nut is used to connect the brace to the side mounting bracket.
Locate and unbolt the two Front Bumper Arms from the frame. There is one bumper arm on each rail. Note: Do not discard the hex-head cap screws as they will be used to install the new bumper.
With the bumper removed, locate and unbolt the two Fender Apron Braces from the inner fenders.
Step 2: Modifying the Frame
Before the new CBI Front Hybrid Bumper can be installed the frames of 1996 through 1998 4Runners need to be modified. These years of 4Runners had a different plate on the front of each frame rail than the 1999 through 2002 models. *If you are reading this installation and own 99 through 2002 4Runner you can skip this and jump Step 3. The frame end plates need to be replaced with the new plates supplied by CBI. This is done by grinding off the welds securing the factory end plates to the frame.
Now, with the factory plates removed, temporarily bolt the new mounting plates to the CBI Hybrid Bumper. With the help of a friend, lift the bumper into place and use the Front Bumper Arm bolts to temporarily secure it in place. The new mounting plates need to be flush with the frame rails and tacked into place.
Note: My 4Runner was in an accident prior to us purchasing it. This resulted in the passenger-side frame rail needing to be trimmed an extra 1/4 inch to get everything to line up properly.
With the new mounting plates tacked into place, the bumper can be unbolted and removed. The new mounting plates can now be welded into place. Once complete, the frame and mounting plates should be painted with a liberal coat of paint to prevent rust from developing.
Step 3: Bolting Everything Up
The new Hybrid Bumper can be bolted up once the paint has dried. Now is a great time to install a winch, if you are choosing to install one. CBI recommends that you torque the six main mounting bolts to 70 ft-lbf to ensure a solid connection to the vehicle.
With the bumper mounted, the new turn signals can be installed and wired up. The factory plugs will need to be cut off of the wiring harness and soldered to the new light pigtails. Be sure to cover the wires with heat-shrink tubing to prevent corrosion.
Conclusion
Even with the extra bit of cutting and fitting required by my 4Runner’s bent frame the installation went very quickly. I had the help of two friends during the project. One helped me lift the bumper into place as the second bolted everything up. This worked out rather well as the bumper needed to come on and off a few times to get the fitment just right. In all I am very impressed with the bumper’s construction and I cannot wait to hit the trails to test its durability!
[flickr set=72157666546423252]
![]()
To get your copy of theWinter 2016 Issue:  FIND US ON: |

