
If you have ever wanted to capture a celestial night sky scene with a camera, but didn’t know how, or wanted to improve your technique, keep reading. We will cover the following topics:
Night-sky targets
Ideal camera settings that are common for DSLR, Mirrorless, and Micro Four-Thirds cameras
Lens options
Controlling the camera remotely
Tripod and tracking mount options
A few processing steps in Adobe LightRoom
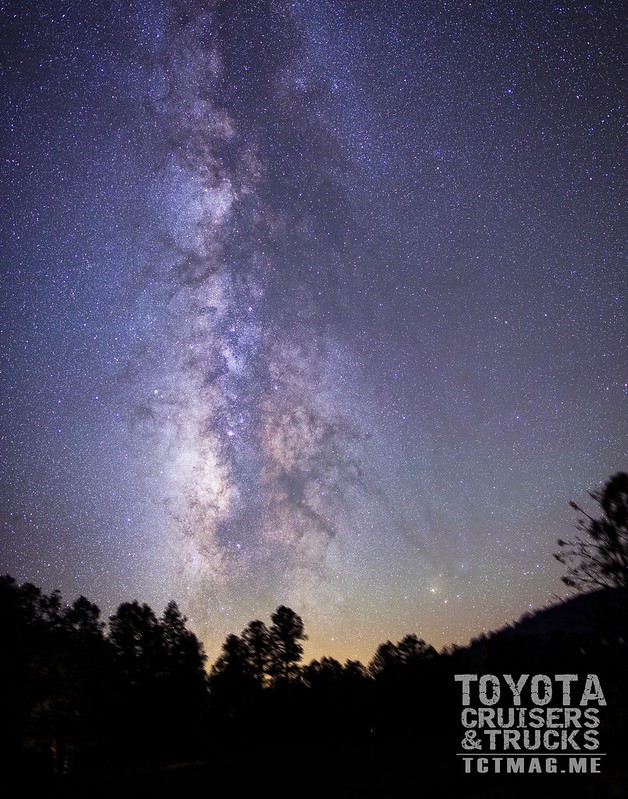
Night Sky Targets Photographing the night sky is known as astrophotography, and using a camera and lens configuration is referred to as widefield astrophotography. While the Milky Way arm visible to us Earthlings is the most common object photographed, the Orion Nebula, Pleiades, and Andromeda Galaxy are also ideal targets for a camera and lens. Need help locating these objects? Try using one of the many planetarium apps available for smartphones and tablets. Or use the tried and true classic method of learning the constellations and navigating the night sky with a star map.

Is the night a bit hazy? If so, this is an excellent time to photograph constellations. Thin clouds and moisture will cause bright constellation stars to look larger than usual (e.g. the Big Dipper or Orion), thus defining the constellation in contrast against the smaller stars.
To capture star trails, place the camera on a tripod, aim the camera north, set the shutter speed to 30 seconds, with 1-second interval between each photo. Later in this story, I advise you to shoot in camera RAW. Shooting star trails is the one time you don’t want to shoot RAW, as you will capture between 600 and 800 photos, depending on how long you allow the camera to shoot. Shoot star trails in JPG only. Download the free computer application from star trails.de, as this will allow for you to select all of the star trail jpeg files and combine (stack) them for the star trail result.

Ideal Camera Settings
Set the camera mode dial to M for Manual, so you are in control of the aperture and shutter speed settings. Set the ISO to 1600. Shoot the photos in camera RAW so they can be processed easier. Shooting JPG only means the camera is doing the processing and compression. Thus much of the data depth is lost.
When using a tripod and regular tripod head, the biggest challenge is star movement. Shoot a 30-second exposure with a wide-angle lens, and the result may look great on the LCD viewing screen. When viewed on a computer monitor, the star movement will become obvious. One thing to keep in mind is the shorter the focal length of the lens; the less effect star movement will have on the photo. For example, a 20-second exposure through a 14mm lens will display less star movement than through a 24mm lens.
A couple of rules can help choose an exposure that will reduce star movement:
Full-frame Camera: divide the number 500 by the focal length of the lens to obtain the exposure in seconds (e.g. 500 / 20mm lens = 25 seconds)
APS-C Camera: divide the number 300 by the focal length of the lens to obtain the exposure in seconds (e.g. 500 / 20mm lens = 15 seconds)
For aperture (aka f/stop), set the f/stop to the biggest opening, which is the smallest number (a 24mm f/1.4 lens is wide open when set to f/1.4). Now, adjust the aperture up a half to a full stop, e.g. f/2 or f/2.8. That slight adjustment will add some depth of field and thus correct for curvature issues are common in wide-angle lenses. You can certainly shoot at the biggest opening, but be aware that the stars at the edge of the photo may be distorted. Increasing depth of field will help offset this.
While shutter and aperture are more absolute in their performance across all makes and models of camera gear, ISO can vary significantly. The higher the ISO setting, the more detail you pick up, and the more noise you introduce into the photo. More recent cameras can shoot at an ISO of 4000 to 6400 and produce far less noisy results than cameras 3 or 4 years old. What is ISO? Most photographers describe it as increasing the sensitivity of the camera chip. Another way to describe it is the increase amplification of light. Your camera may introduce noticeable noise as low as ISO 1250 or as high as 6400. As suggested earlier, start with ISO 1600.
Lens Options
The rule of thumb is, the longer the focal length of the lens, the less tolerance for star movement. Wide-angle is usually better standard camera tripod use. Not all wide-angle lenses make for great astrophoto lenses. Many lenses will distort the starts near the edge of the photo. The Rokinon and Samyang lenses usually outperform the Canon and Nikon lenses for capturing stars. These lenses are affordable in comparison to the bigger brands, but part of the reason is these lenses are manual focus only, which is what you want for astrophotography. Cameras cannot use autofocus on stars because the stars are too small. Fixed focal length lenses are almost always better performers than zoom lenses, as the former keeps stars smaller. A list of tested low coma lenses can be viewed here: http://intothenightphoto.blogspot.com/2016/07/more-low-coma-lenses-for-nightscape.html
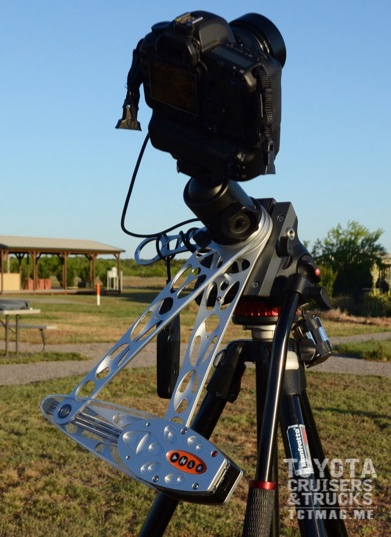
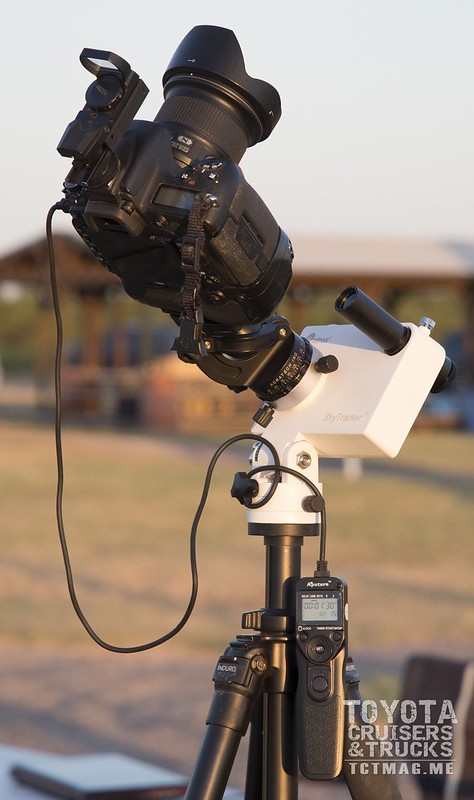
Tripod and Tracking Mount Options
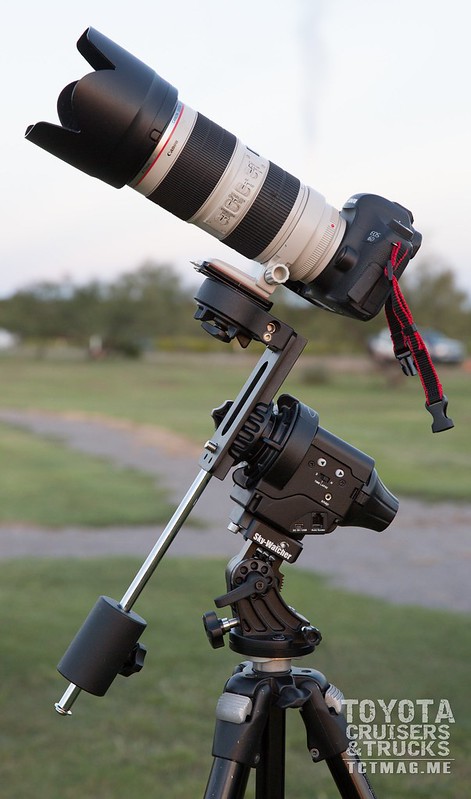
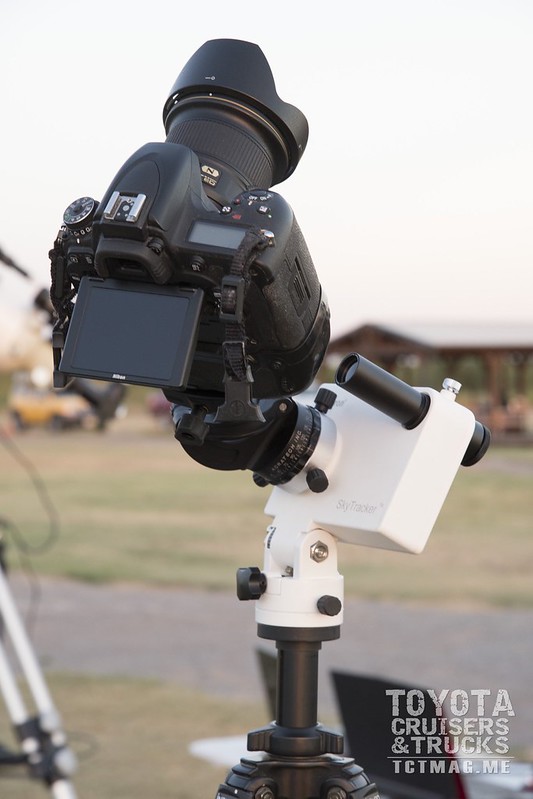
Telescopes are great for astrophotography but require large tracking mounts. Camera lenses can be used in conjunction with small tracking mounts that attach to the typical camera tripod. Battery-operated solutions from SkyWatcher, AstroTrac, and iOptron are easy to use and affordable trackers. Just angle the tracker, so it is facing the north star, and your camera will track in parallel with the earth’s spin.

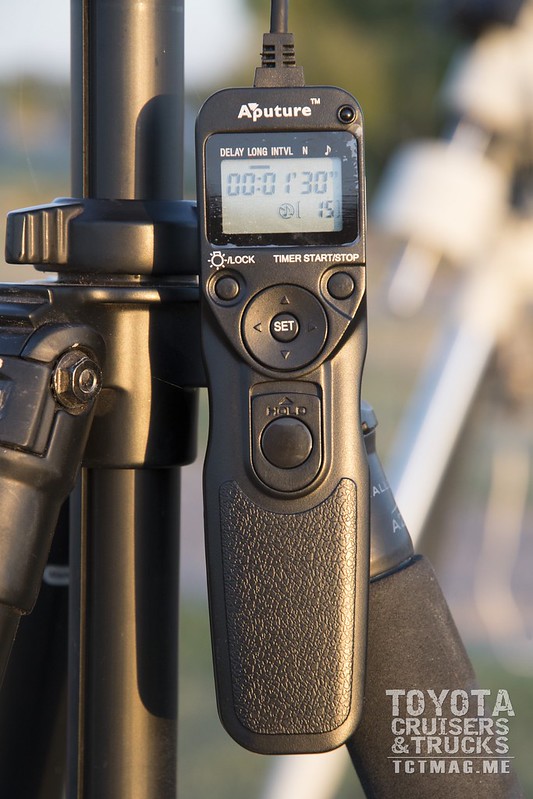
Controlling the Camera Remotely This is very important, especially for star trails. By triggering the shutter remotely, the chances of camera vibrations are reduced significantly. Many remotes are intervalometers, and the off-brand models are very affordable and easy to find on eBay. An intervalometer is a mechanism for programming the shooting sequence, e.g. the 30-second exposures with 1-second intervals for star trails.
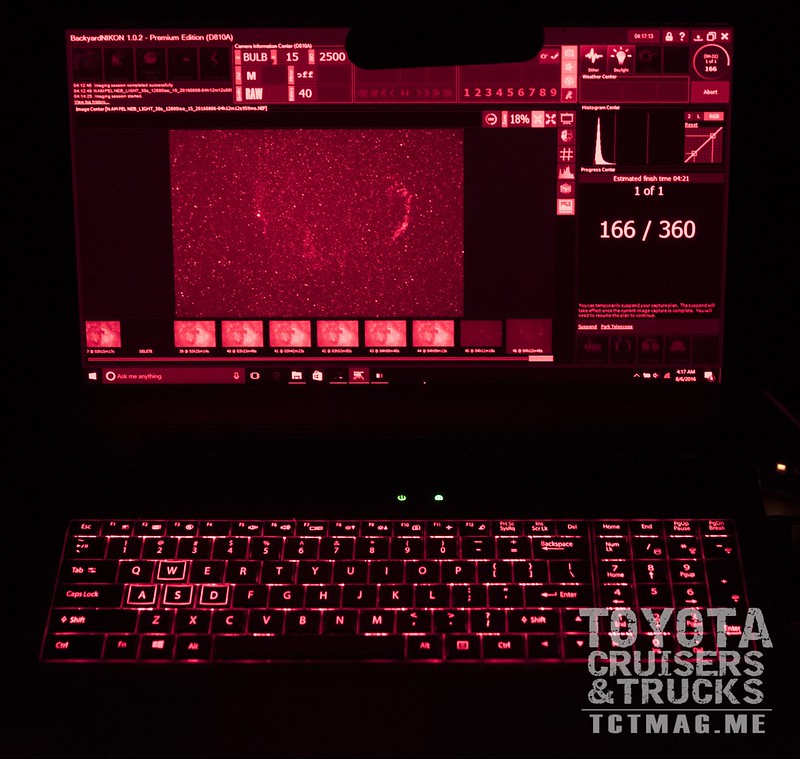
Another option is to use a laptop and control the camera via a USB cable. For Canon and Nikon owners, the BackyardNikon and BackyardEOS software products are designed specifically for astrophotographers. APT – Astrophotography Tool is another low-price software option for camera control.
A few processing steps in Adobe LightRoom
By shooting in camera RAW, adjustments in LightRoom will be more powerful than with a jpeg file. This is also an excellent way to remove any tainted colors caused by light pollution. Notice the sliders for exposure, contrast and vibrance are moved to the right. This helps the Milky Way to stand out. Adjust the temperature to bring out more of the browns in the stardust. If you haven’t tried the graduated filter, this will be the time. There are plenty of online video tutorials for how to utilize this powerful LR feature. When part of your sky is green, this filter is the perfect mechanism for fixing the color issue.

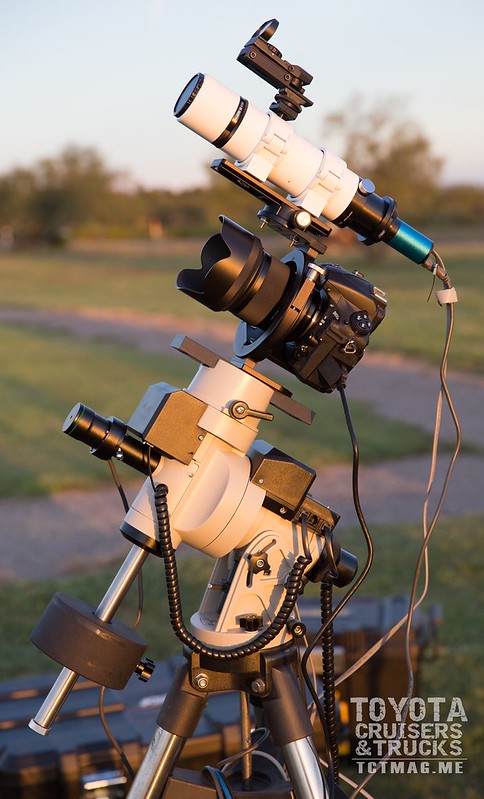
The Next Step
After getting your starry nights captured, you may want to achieve a higher level of astrophotography. Shooting with small telescopes and an autoguiding system will provide even better results. Autoguiding requires the use of a small telescope and small digital camera controlled by a laptop. The guide camera captures a photo of a designated guide star every 3 or 4 seconds and sends a correction command to the mount. The Sky-Watcher mount mentioned previously has a guider port for this very purpose.
Modified cameras, where the IR cutoff filter has been replaced with a filter that cuts the red spectrum at a higher value, are great for captured red emission nebula. Both Canon and Nikon offer modified cameras in their product lineup.
To explore the options for astrophotography, CloudyNights.com is a great online community for learning more. Small telescope packages that don’t take up much room can be put together for your overland adventures.
[flickr set=2157680127678832]


To get your copy of the
Winter 2017 Issue:


FIND US ON: