
 The Satoshi grille, named for its originator, is a popular aesthetic modification among late model Toyota enthusiasts. The gist of the mod includes removing the original equipment plastic mesh and/or grille slats and replacing them with steel mesh. Diamond mesh reminiscent of the Land Cruisers of yore is typically used, but many unique options exist among those who like to think outside the box. This article will detail the steps necessary to modify an early 4th generation 4Runner grille with diamond mesh and a 1980s FJ60 emblem. The process is similar across vehicle models and grille styles and some techniques used for other grilles will be discussed as well.
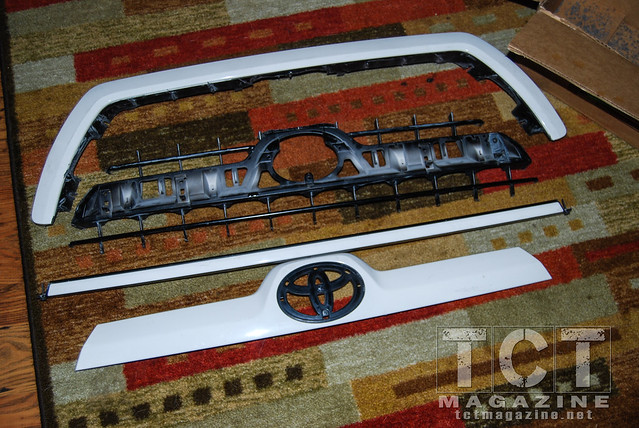
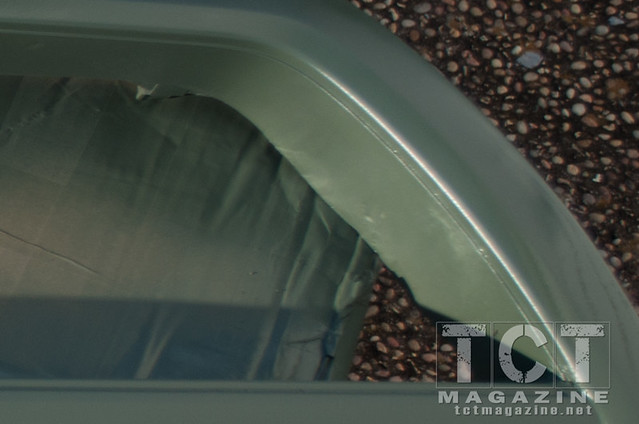
After removing the grille, unbolting the metal sub-frame, and removing the emblem and additional components, you’re ready to start hacking. I find it easiest to use a multi-tool with a flush cut blade but a body saw, rotary tool, or even a hacksaw blade will do the trick. Note: the grille shown in the first two pictures is a 2006 4Runner grille being modified to fit a 2003 model, trimming the lower bar away from the upper U is not necessary for most applications.
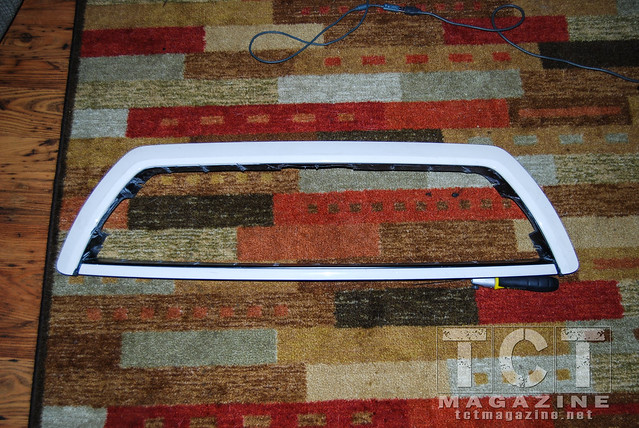
Once you’ve removed all of the inner pieces, you will get a glimpse of how the finished product will look. The remaining material on the inner lip of the grill should be sanded smooth, starting with coarse paper and gradually moving toward finer paper until the lip is smooth to touch.
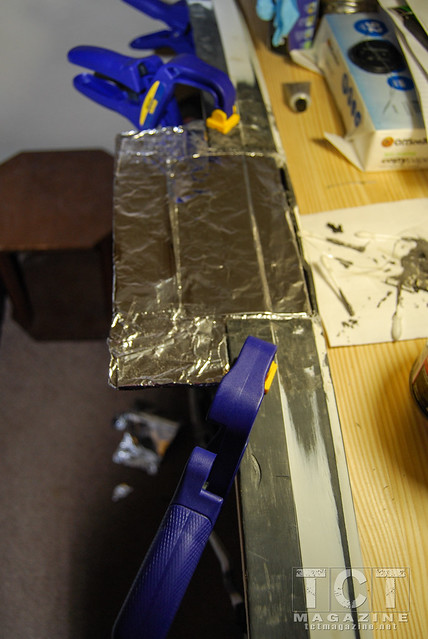
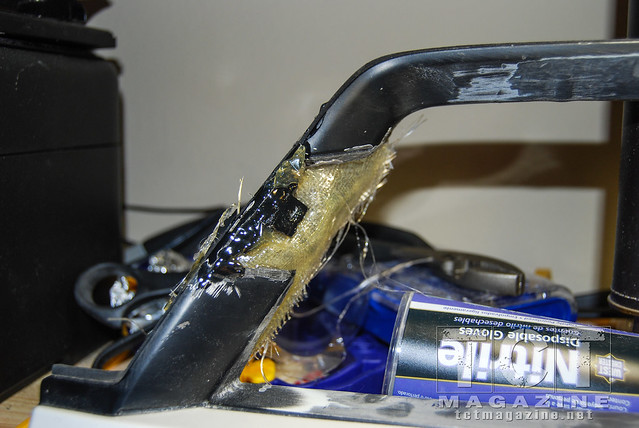
This step can be skipped on most models, though recommended for a cleaner look, but is imperative on the ’03-05 4Runner grilles. After trimming, there will be openings in the grille surround that should be backed with fiberglass, filled with body filler, and sanded smooth. Shown here is a template I made from a couple of pieces of cardboard covered by aluminum foil to prevent bonding. The template was necessary due to the large opening; it holds the fiberglass cloth in place and form close to the OEM lines.
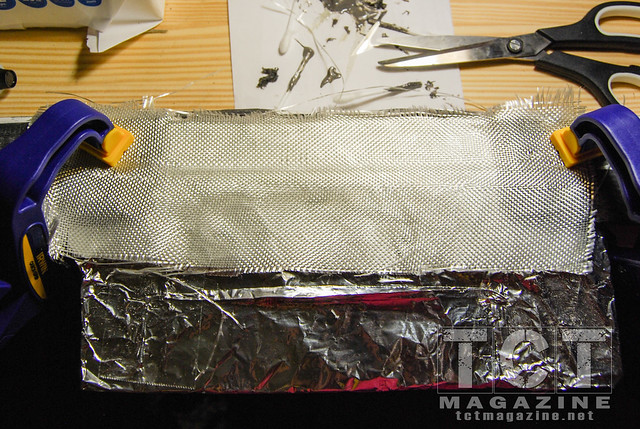
The first layer of cloth was clamped to the top and resin brushed on. For subsequent layers, the cardboard template was removed and the glass laid on the underside of the grille.
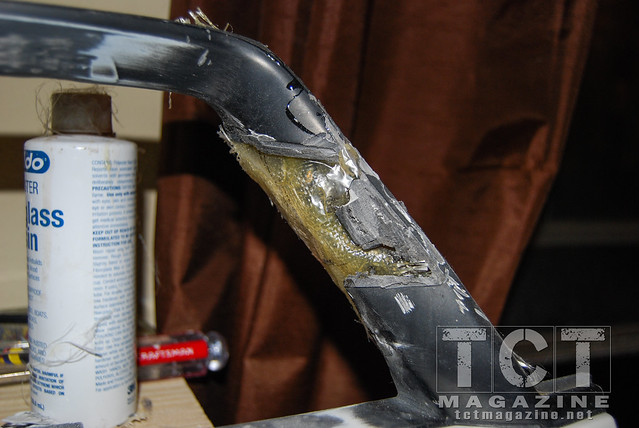
The empty slats on the sides were also patched with fiberglass; a template was not necessary to fill these smaller gaps. You can see the ragged edges of the hardened fiberglass here. Use a minimum of three layers of fiberglass; more will strengthen the structure.
A Dremel tool with a cutting disc was used to trim the rough edges to essentially the same shape as the factory plastic. Being precise is not necessary in this step, as the edges will be cleaned up later. It’s often easier to wait until after applying body filler to perform this step as the extra material makes it easier to smooth the edges.
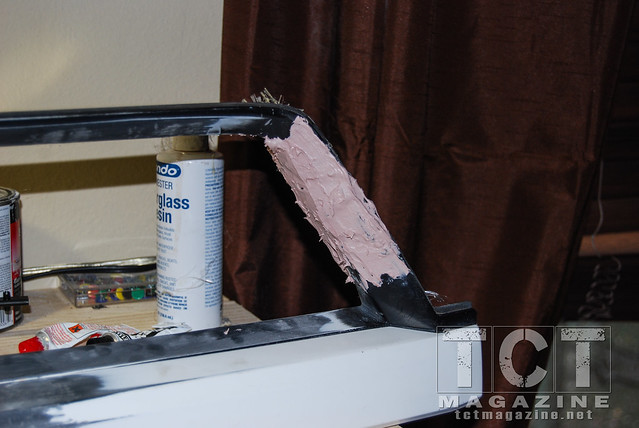
After the fiberglass hardens for a few hours, I usually allow it to dry completely overnight, body filler should be mixed, preferably in small batches as it dries very quickly, and applied to fill all gaps. Getting it smooth while soft can make for less sanding, but playing with the drying filler material for too long can lead to small holes that mean another layer will need to be applied later.
Once the body filler has hardened completely, usually under an hour, you can begin sanding away the excess material until the filler is flush with the plastic. If you aren’t happy with the texture, another layer of filler can be added and smoothed down.
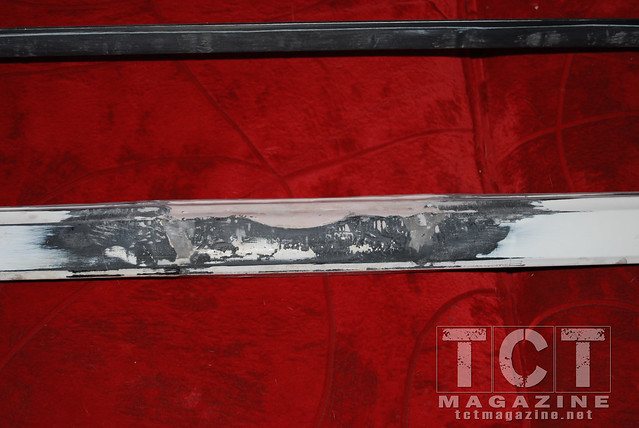
It is often difficult to see imperfections in the body filler until a layer of primer has been applied and all material is the same color. Here you can see an area that appeared smooth, but after a coating of self-etching primer imperfections stand out. Another layer of body filler must be added and smoothed before re-applying primer.
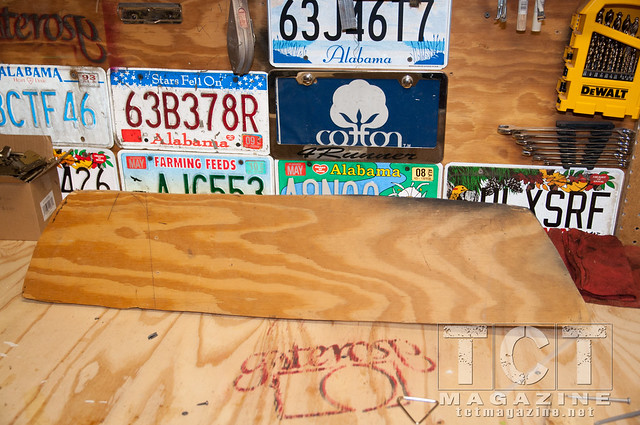
A template like the one shown here helps tremendously with bending the mesh to properly fit the grille. A jigsaw was used to cut this template from plywood after tracing the inside of a trimmed grille.
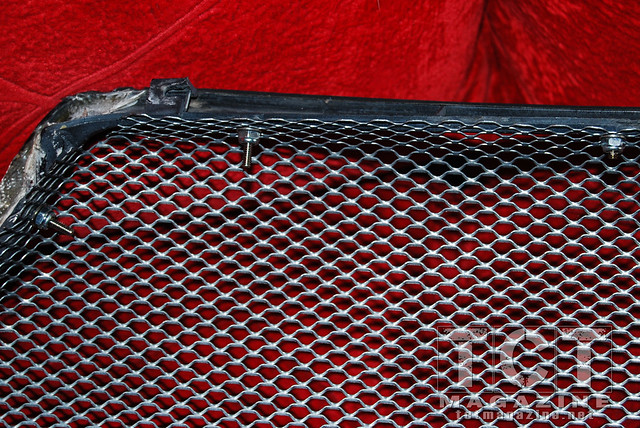
After placing the mesh up inside the grille, holes should be drilled for stainless machine screws and nylon locking nuts. It is best to drill only a couple of holes at a time so you can be sure the mesh follows the shape of the grille as the screws hold it since the holes in the mesh are larger than the screws. After you’ve tightened all screws, use 2 on each side and 4-6 on the top and bottom. The ends should be trimmed with a cut-off wheel to reduce visibility.
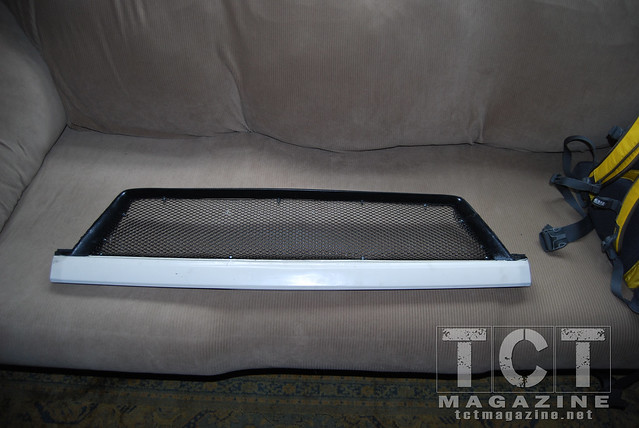
Here’s the final product after spraying the mesh matte black and color-matching the rest. An emblem can be added for effect. I chose a late 1980s FJ60 emblem. Although satisfied with the outcome, an upgrade to 2006 headlamps necessitated replacement with the 2006 modified grille shown in other photos.
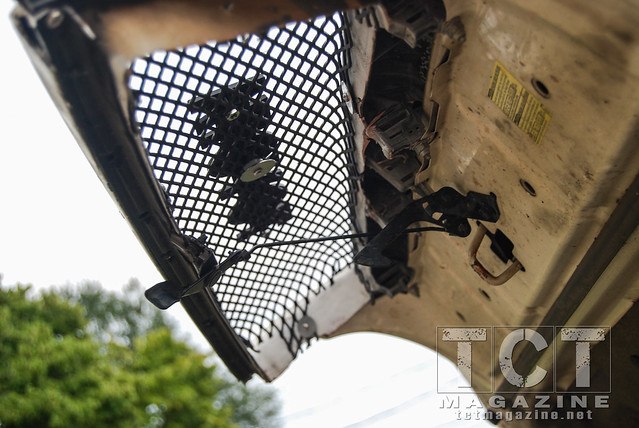
From the backside, you can see the unpainted fiberglass. This angle also shows how the FJ60 grille emblem was later mounted with SS fender washers, nuts, and a short sheet metal screw. The method shown here retains the factory secondary hood latch, but some styles require removal or modification of the latch.
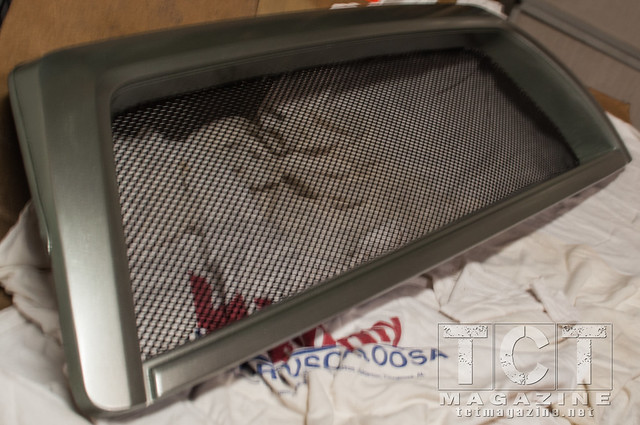
The grille in this picture fits ’06-09 4Runners and has recessed mesh instead of the protruding as previously shown. Rather than using machine screws and lock nuts, the mesh was bent around the edges of the grille and secured with epoxy.