
Snorkel Install on the 5 th Gen 4Runner
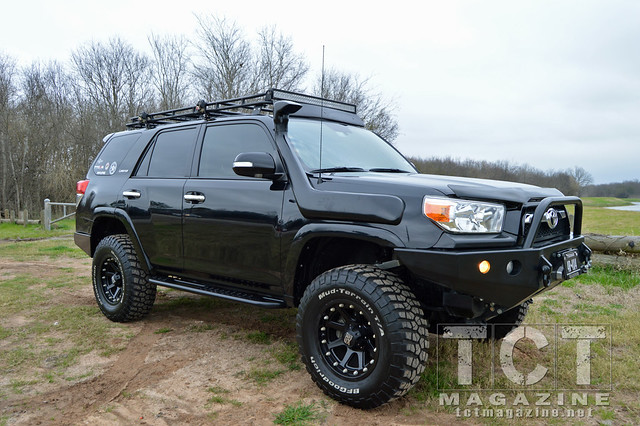
I never wanted to put a snorkel on my 2013 4Runner, simply because I wasn’t planning to go anywhere requiring one. After a year of off-roading, I found myself searching for a snorkel compatible with the 5th gen 4Runner. I found the FTS product imported and sold by Pathfinder Outdoors. For installation guidance, I referenced two install discussions on T4R.org, plus I recruited an industrious 4Runner buddy to assist.
To minimize rubbing and vibrations, Plastidip was applied to the snorkel backside. Next, we secured the cutting template to the fender with painters tape.
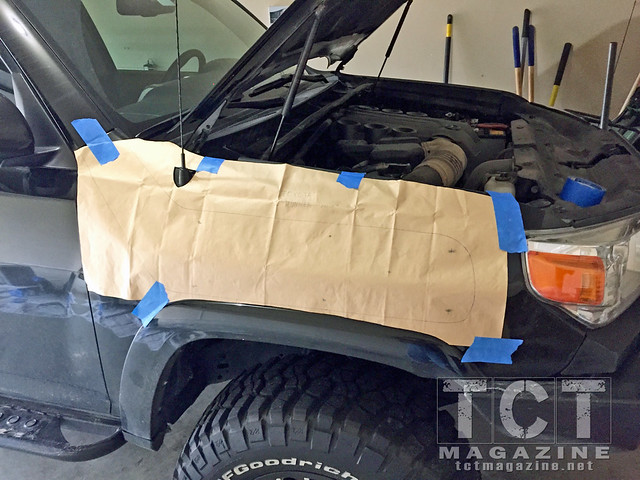
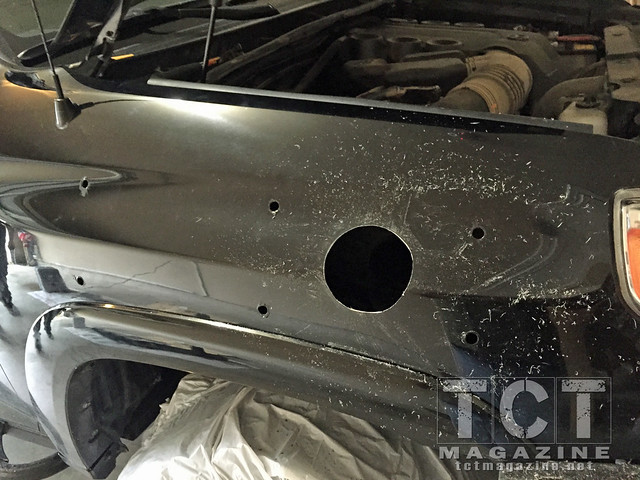
Using a center punch, we dimpled the centers of all 6 bolt holes as well as the main hole for the air inlet. Removing the template from the fender, the next step was to get all the holes started, so we used a 5/16” titanium drill bit to drill all 7 pilot holes. When drilling, brace the drill well to prevent the bit from escaping the dimple. With our pilot holes drilled, we used a ½” unibit step drill bit to enlarge the 6 bolt holes to a full ½” (online instructions say 9/16”). With the bolt holes drilled out, I took a long deep breath, put the 4” bi-metal hole saw in the drill, and tried to block the thought from my mind of what I was about to do to my fender. My skin crawled at the sound of the bit chewing through the fender. After what seemed like an eternity, it was done… and surprisingly smooth, only needing a bit of mild sanding with some 600 grit sandpaper.
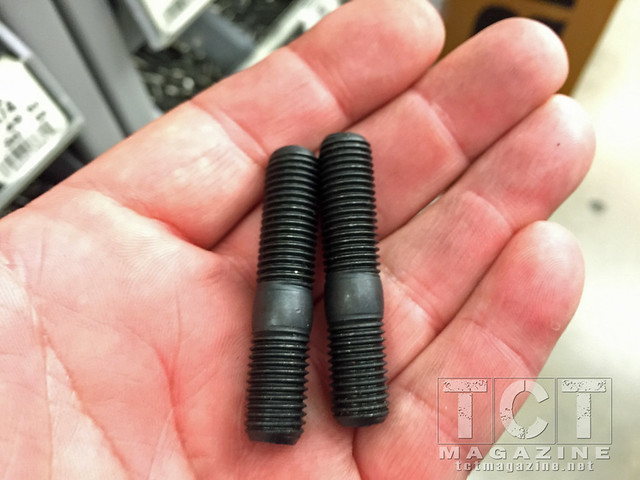
Based on a tip posted on T4R.org, I opted to replace the included bolts with studs and lock washers, using only the included large washers. Loosely fitting each of the studs in the snorkel, we tried our first fitting only to discover it made sense to remove the air box completely.
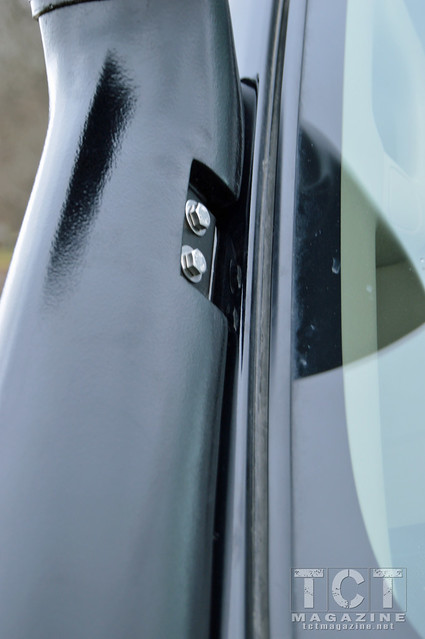
With the snorkel having a solid fit against the fender, our next step was to ensure a quality fit with the air box. After temporarily reseating the air box and confirming fit, we mounted the A-pillar bracket. This was done by loosely fitting the bracket to the snorkel, removing the 2-sided tape backing, then carefully reseating the snorkel and pressing the tape against the A-pillar. After removing the bolts, we screwed in the 2 self-tapping screws.
We were ready to bolt up the snorkel. Using permanent Loctite on the headless bolts, we set them in the snorkel. While the Loctite was drying, we discussed how we were going to bolt down the unit. The only way to get to the inside of the fender is by coming up and through the fender liner.
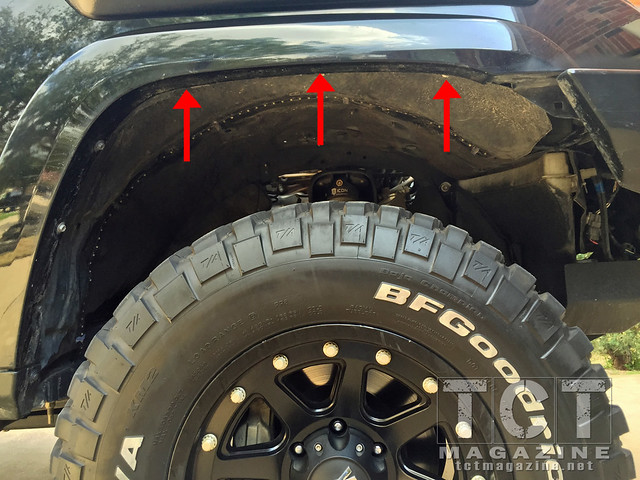
Much of the fender liner had been cut away for an aftermarket bumper. To reach where we needed, we still had to remove several of the plastic grommets along the top of the fender well. In order to do this, we had to squeeze the plastic pins of each with pliers while reaching in through the 4” air vent hole. Having removed several of the grommets, my buddy verified he could reach his hand between the fender liner and the fender, up to the point where it would be needed to attach washers and nuts to the headless bolts.
To mount the snorkel, we cleaned the entire fender area and lined each of our holes with liquid tape for rust prevention along the edges. We encircled each hole with black RTV silicon. Finally, we used the RTV silicon on both the snorkel air vent hole where it would make contact with the air box, as well as in the air box. We decided there was no such thing as ‘too much’ silicone in this step, since one mistake could cost me an engine. Next, we carefully seated the snorkel, and proceeded to attach each of the 6 washers, lock washers and bolts. (Hint: a tiny dab of RTV silicon on the washer will keep it from sliding off the bolt as you’re fumbling around blind with your hands in the fender.) With the 6 mounting bolts secure, we attached the washers and bolts to the A-pillar bracket, finished bolting the air box back in place, and replaced the fender liner grommets.
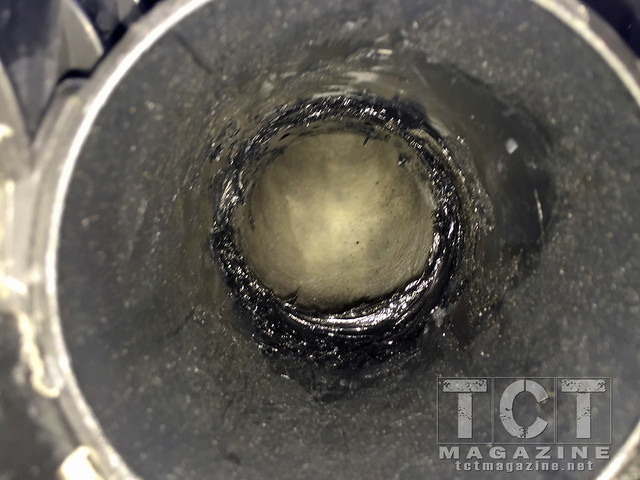
Since we could not see where the snorkel joins with the air box, we placed a phone inside and took a photo. Feeling around with our tube of RTV silicone, we used a ledge as our guide and proceeded to use nearly an entire tube, sealing up that join as best we could. The fun part was using our hands, squeezed tight in the intake, to smooth out the silicon.
With everything buttoned back up, we fired up the rig. Even at idle speed, we could feel the flow of air across our hands near the intake. At last… I was ready to take on the flooded side streets of Houston in the rain!
[flickr set=72157652191446216]
To get your copy of the
April 2015 issue:


FIND US ON: